Want More Food Orders Online? Upload Better Menu Pictures!
Uploading better menu pictures can help you get more food orders online — as much as 35% more. Learn the tips to take appealing images for a menu and common mistakes to avoid.
loading...
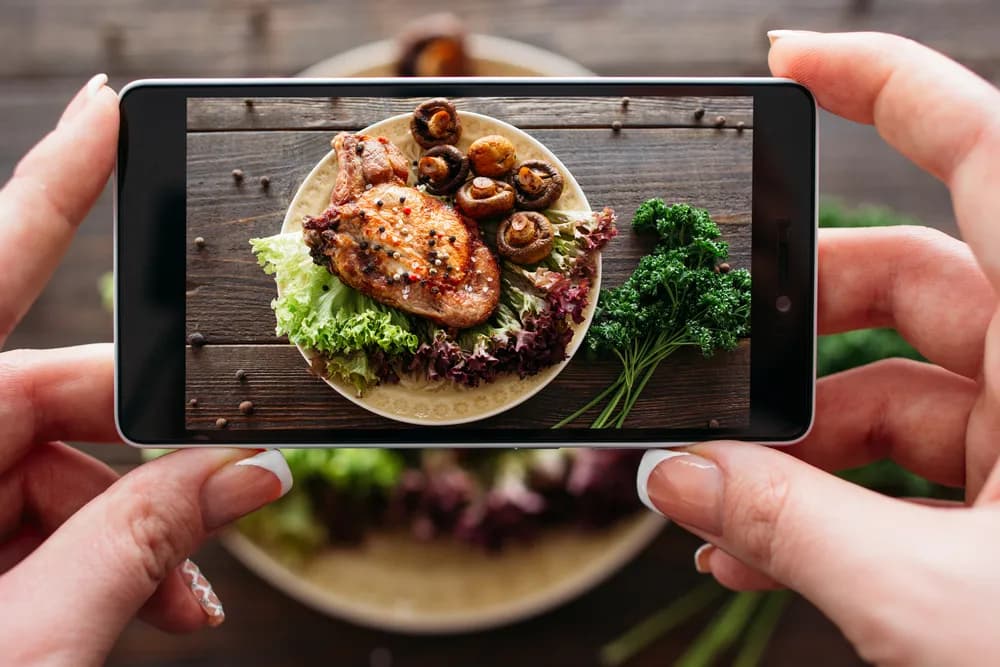
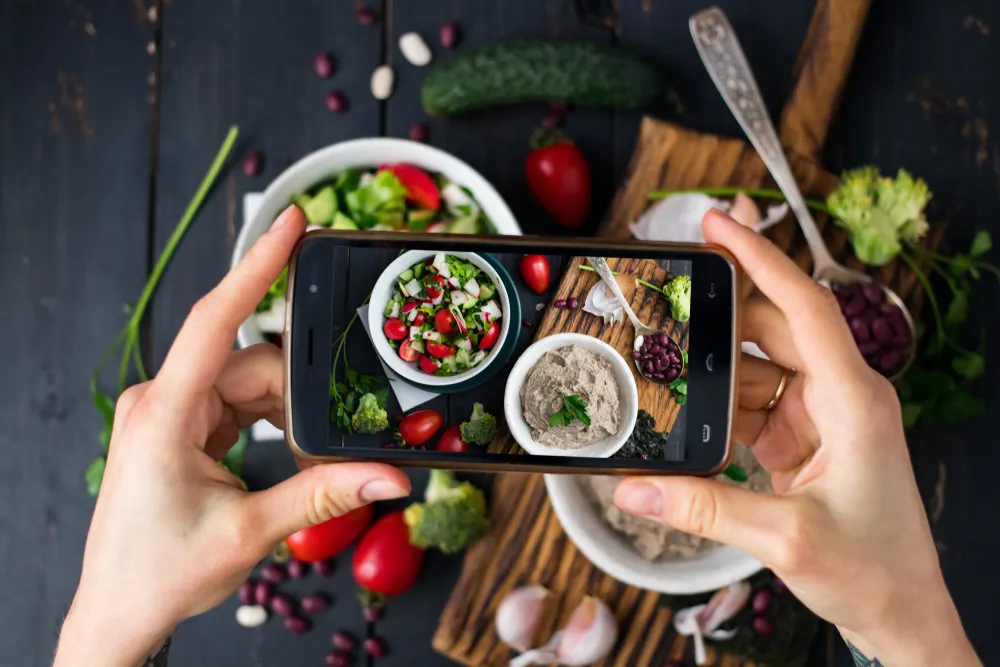
Give your dishes the presentation they deserve with quality images for menu items featuring them.
“Bad menu pictures are bad for your business.”
This is not any generic statement, but an important truth that many food businesses and restaurants tend to ignore.
In fact, statistics show that high-quality food photos can increase orders on restaurant delivery apps by 35%.
So, if you are thinking of taking a menu pic with your smartphone and uploading it randomly, you should reconsider. A poor-quality menu picture is not going to get you the customers and sales you truly expect.
In this guide, we'll help you by letting you know what makes a “good” menu pic and the different factors you need to consider to capture excellent images for a menu.
You don’t need to be overwhelmed by the numerous photography factors like lighting, framing, lens style, and overall camera quality.
By the end of this article, you’ll be an expert in taking excellent menu pictures that can water anyone’s mouth and help you build a loyal customer base.
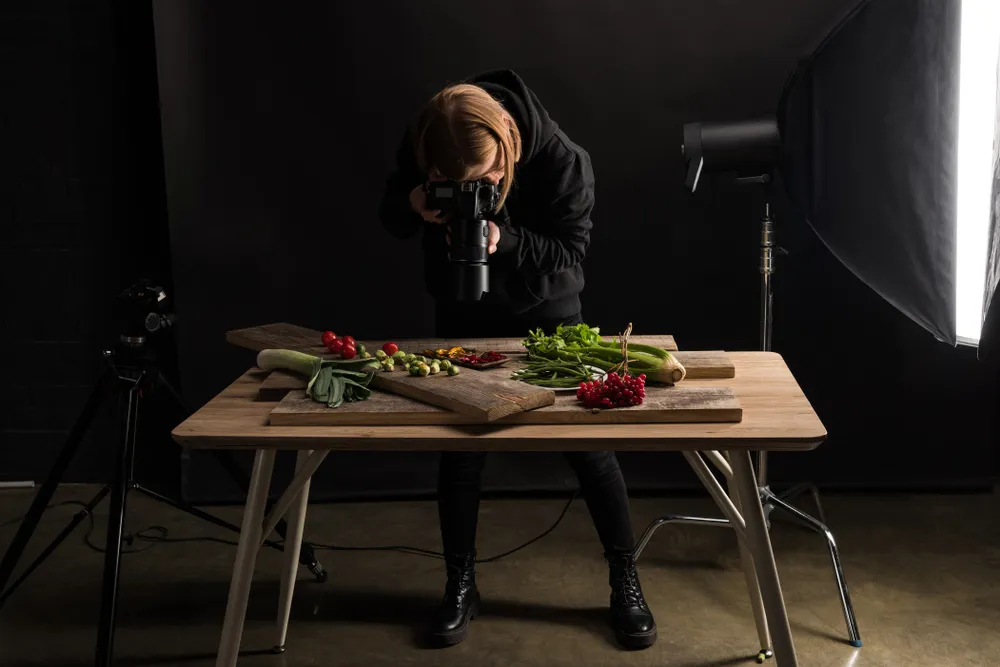
Although you can hire a professional food photographer for your restaurant, it’s not always necessary. In fact, you'd be surprised at how much you can achieve with a smartphone and a little know-how.
Impact of Bad Menu Pictures
Low-quality menu pictures are not just a photography issue, but a huge problem for your business. We are living in the age of social media, and food photos are often the very first impression that customers get of your restaurant. Even before reading the reviews or available menu items, customers are likely to be looking at the pictures and making quick judgments.
If your images are not properly framed or have poor lighting, there is a high chance the customer will not order from your restaurant.
Let’s further break down the impact of bad menu pics to understand how grave this problem is:
⛔️ Lower Conversion Rate: A bland or cluttered food photo can decrease the chances of someone ordering from your restaurant. As discussed, high-quality images can boost the orders by up to 35%.
⛔️ Negative Brand Perception: No matter how good the dish is, if you have captured it amateurishly, it will make the restaurant look unprofessional or low-quality.
⛔️ Poor Performance in Delivery Apps: Food delivery apps have become highly competitive with lots of restaurants operating within the same region. If your food photos are unattractive, they will not generate sufficient engagement, leading to lower visibility.
⛔️ Wasted Marketing Potential: High-quality food menu pictures also thrive on visual-driven platforms like Pinterest and Instagram. By ignoring the quality of your menu pics, you can miss out on significant organic reach and engagement.
Overall, bad photos don't just look bad. They cost you customers, revenue, and visibility.
It is vital that you fix this problem by following some tried-and-tested tips to capture high-quality photos.
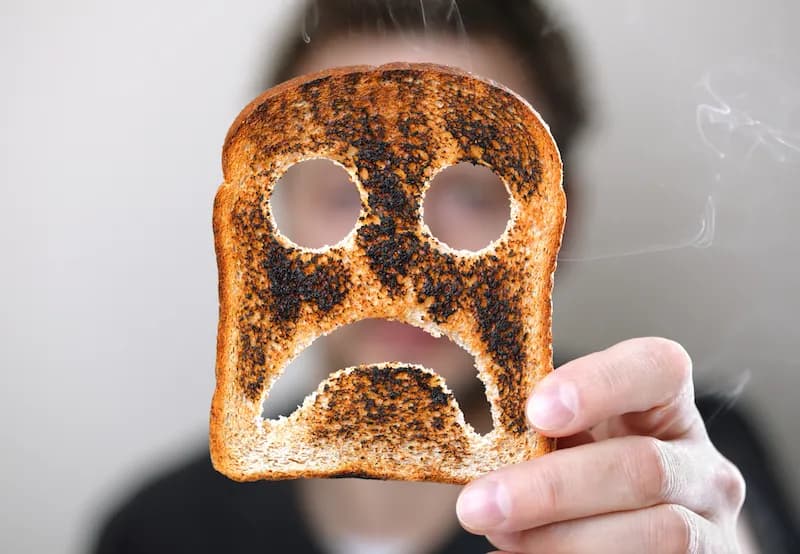
This photo is a bit humorous, but it is to emphasize the importance of avoiding bad photography practices. Remember, online orders are driven by visuals, so get your menu pictures right!
What Makes a “Good” Menu Picture?
Before we even begin discussing the mistakes you need to avoid while taking pictures for a restaurant menu, it is important to define what is actually a “good” menu picture.
Remember that a picture captured with a high-definition camera can still be a “bad” picture if it does not have the right essence to capture attention and drive action.
Here are the key factors involved in making your menu pictures stand out from the crowd:
1. Excellent Lighting
Lighting can be the make-or-break factor in your menu pic quality. A good photo is the one with bright, soft, and natural-looking lighting. This type of lighting is important to highlight the dish textures, such as bringing a crispy crust to life. With excellent lighting, you won’t have to touch up your photo much, and it will make the food pop without making it look artificial.
In the following photo, notice how the shape of the bread is clearly visible, and the texture of the crust looks crispy and appealing. There are no harsh shadows, and the overall lighting looks natural.
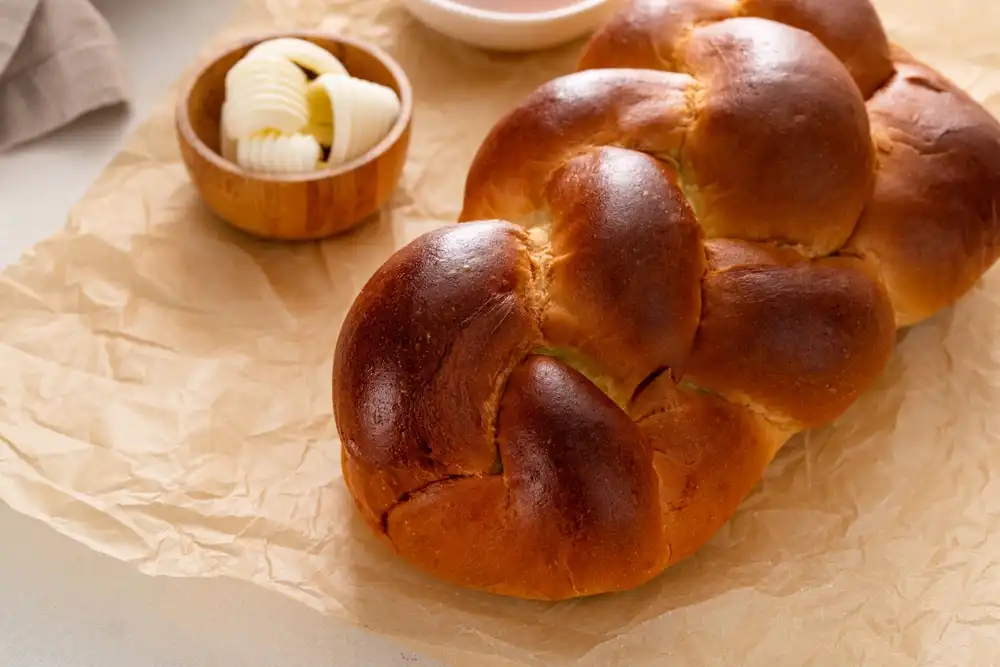
Lighting, both natural and artificial, needs to be sufficient to highlight a dish's best features.
2. Sharp Focus
Blurry menu pictures are a big no-no because they not only confuse the viewers, but also make your restaurant look unprofessional. A high-quality photo ensures that the focus is on the most visually enticing part of the dish.
Whether you want the viewer to focus on sumptuous toppings or delicate garnishes, make sure that your menu pic perfectly represents that in crisp and clear quality.
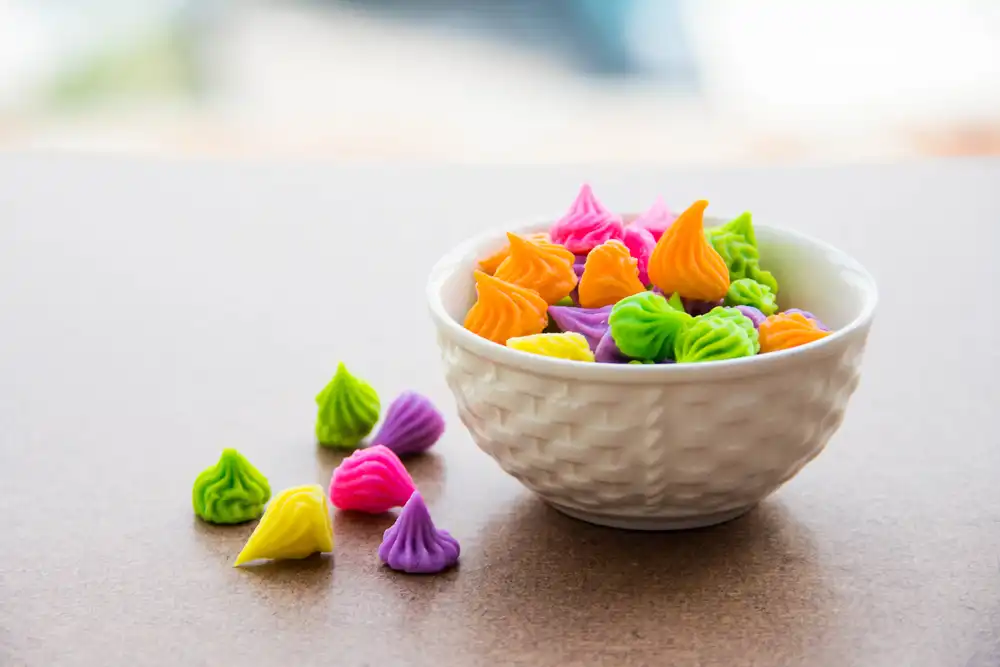
A small bowl filled with candy is in sharp focus. The background is intentionally blurred. The end result is that the viewer's attention is drawn to the vibrant colors and textures of the candy. That is the power of sharp focus.
3. Clean Composition and Framing
A well-composed picture with the right framing means it draws the viewer’s eye exactly to the food. The most important thing is that the food plate should be placed in the center, with no additional tableware or props to minimize distractions.
Moreover, the background should be clean to maintain a harmonious layout. Generally, black or white backgrounds suit most items, but the specific dish and food plate’s color should also be considered to make the right choice.
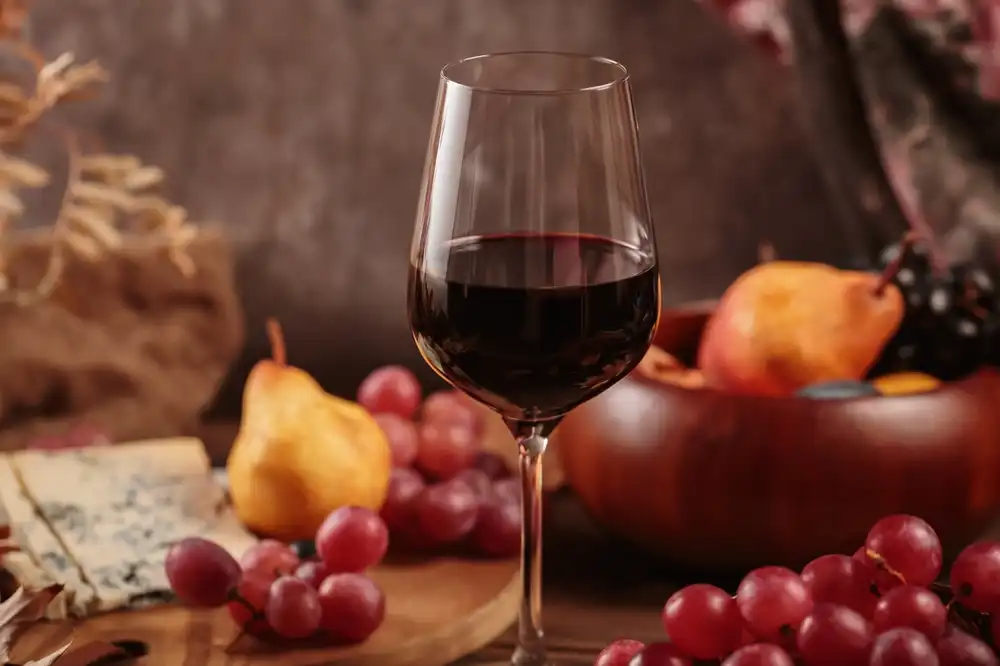
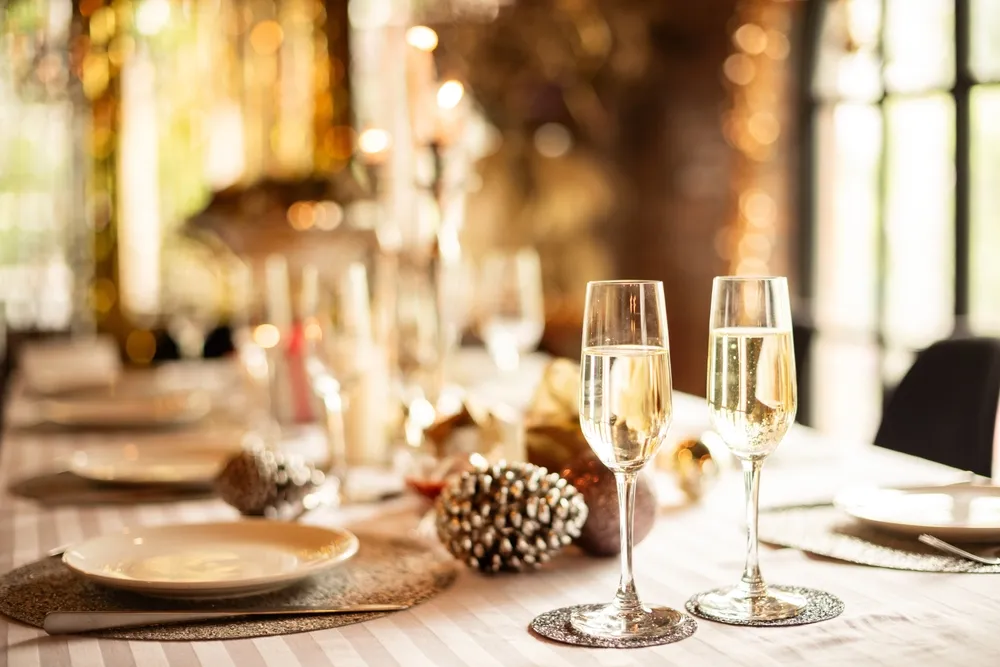
A wine glass is centered in the photo. Although other elements are present, they do not distract from the main subject since the wine glass is dead center in the photo.
4. Realistic, but Beautiful Presentation
You don’t have to go too far while creating a well-presented dish, as you should also try to build an authentic connection with your customers. A good menu photo is the one in which the dish looks its best, but also real.
Such presentation involves neatly applying sauces and ensuring no ingredient is falling apart. The overall presentation of the dish should be appealing enough for the viewers to want to order and eat it, but it does not have to look like it has been staged commercially.
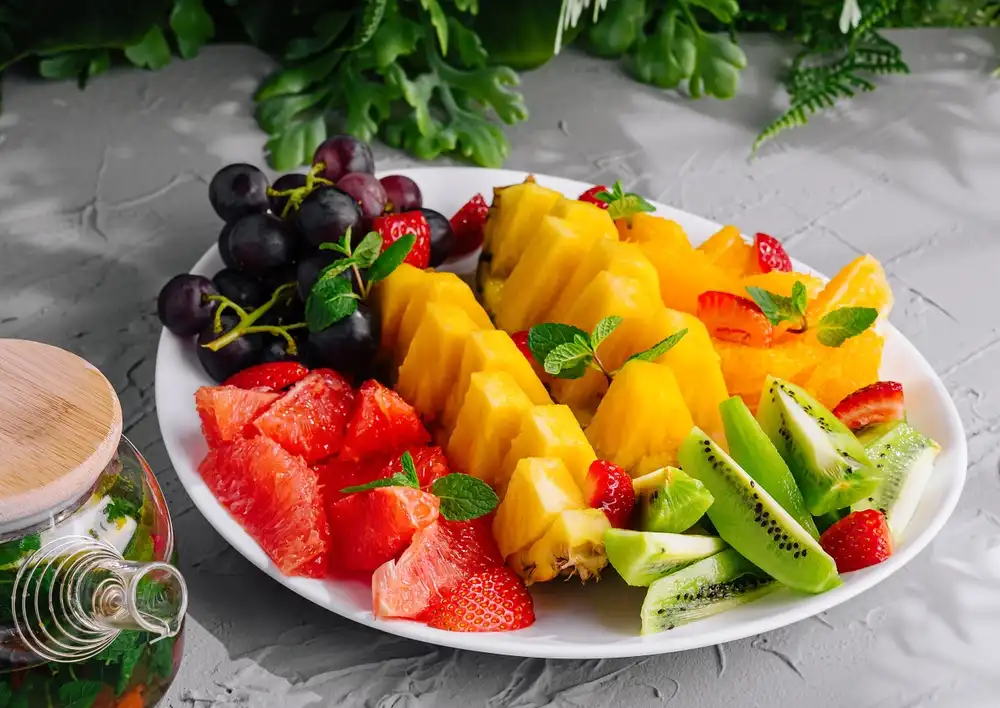
This fruit platter is beautifully arranged, showcasing a variety of colors and textures that make it visually appealing. It is not excessive in styling, allowing the natural beauty of the fruit to shine through.
5. Vibrant Colors
Vibrant colors are your friend when you want to make the menu pictures of food pop out and give the feeling of natural and fresh food to your potential clients.
Good food photos have vibrant colors, such as the greens looking crisp, meat looking juicy, and sauces looking rich. Avoid overly yellow or blue-toned colors as they can make the entire menu pic look dark and unattractive.
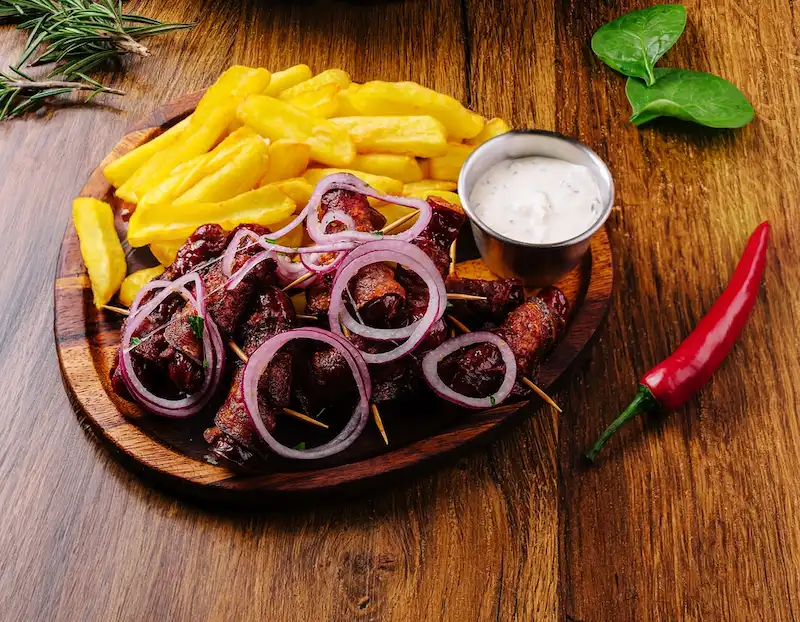
Notice how the colors of each element of the dish stands out. Granted, you don't want to overdo colors of the dish just for the sake of having contrasts, but enhancing the vibrancy can make a significant difference in how appetizing the food looks.
6. Consistent Menu Pic
Even though every dish is different, requiring special attention, the overall menu picture should feel like part of the same visual brand. Whether the dish is a breakfast item or a dinner entree, good-quality food photos maintain a consistent look in terms of background style and its feel. Visual consistency is also important for branding.
To illustrate this concept, here are three breakfast dishes captured with the same framing style.
As you look at the photos, can you see how the lighting and composition of the first two photos are similar, while the third one is different?
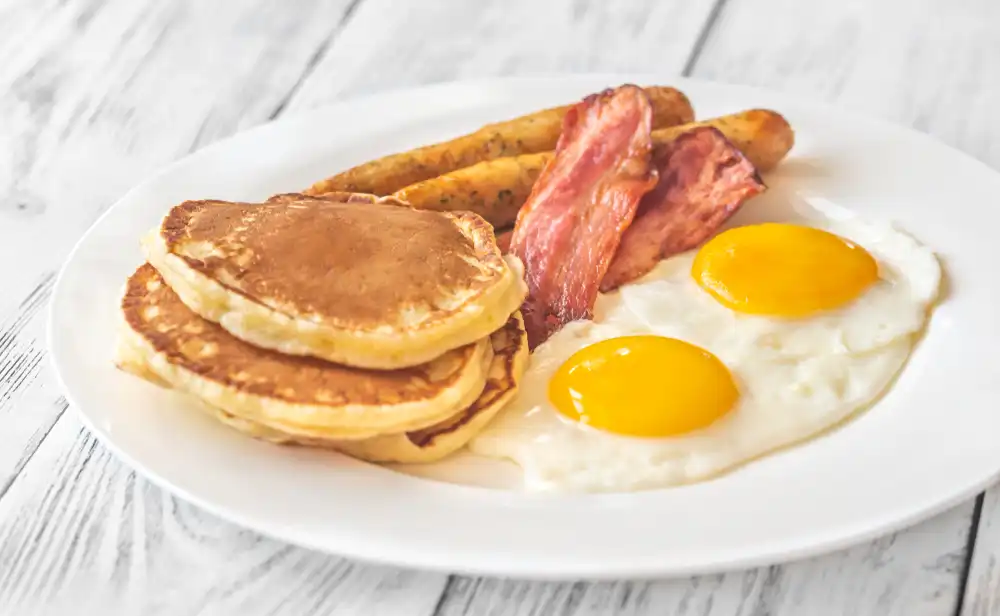
The lighting is bright and the dish fills the frame.
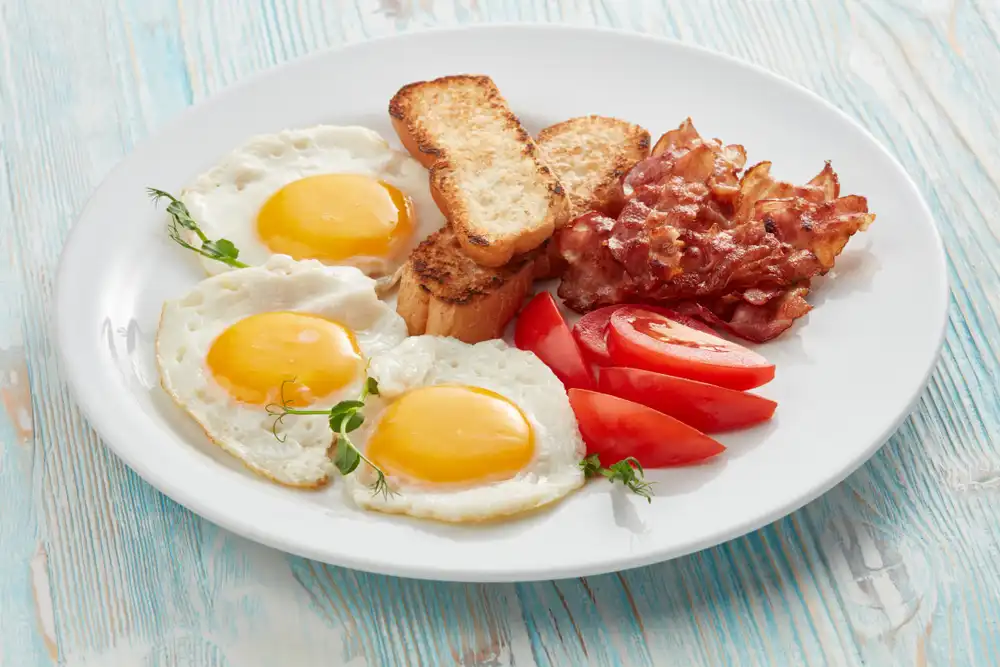
This is a variation of the first dish, but notice how the lighting is also bright and the dish also fills the frame.
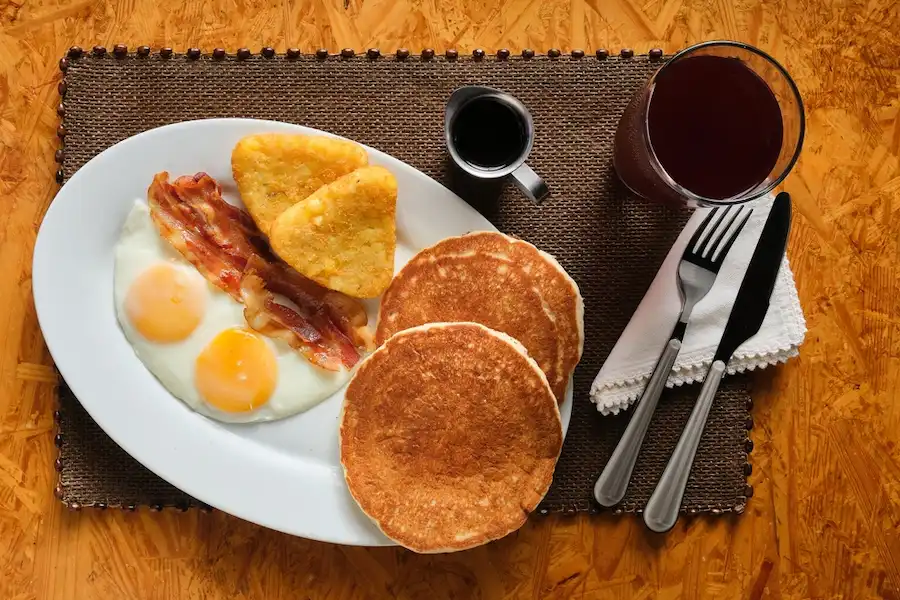
This third photo, although attractive, is a depature from the first two photos. The styling is darker due to the placemat, coffee, and syrup. The lighting, as well, is more subdued, creating a different mood.
Please don't misunderstand what we are trying to say here.
All three photos are good-quality food photos. However, the first two photos have a consistent style, while the third one is different.
If you want to create a cohesive look for your restaurant menu pictures, you should maintain consistency in lighting, composition, and overall style.
7. Emotional Impact
One of the most important characteristics of excellent images for a menu is that they have a profound emotional impact to spark appetite.
An ideal menu pic should stop the scrolling of your target audience and make them order your dish. Such a type of emotional response indicates the ultimate success of your food menu pictures.
The following image is a plate of raviolis with a rich tomato sauce, garnished with hand-torn Italian parsley.
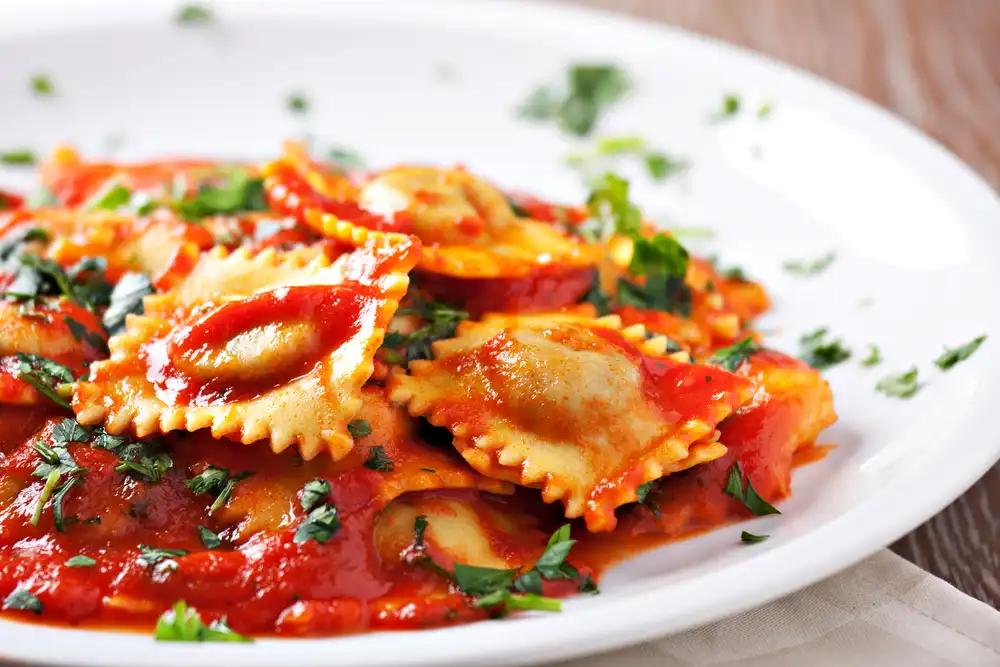
Your menu pictures should also attempt to evoke an emotional response.
A person scrolling through your online menu may see the above image of raviolis as a reminder of a comforting homemade meal, evoking feelings of warmth and satisfaction.
Another person scrolling through your online menu may see this image as a reminder of a special occasion, perhaps a date-night.
Yet another may see it as a reminder that is a Friday or Saturday night and it is time to treat themselves to a delicious meal.
Perhaps there is no emotional response at all, but the viewer simply thinks, “That looks delicious!” and places an order. That is also completely fine.
The point is that you control the menu picture and eliciting an emotional response can also be a key way to drive orders.
Now You Know, So Put It to Use
You can use these top seven characteristics of a “good” menu picture as your quality checklist while following the tips discussed in the next section to capture appealing pictures for a restaurant menu.
How to Improve a Restaurant’s Menu Pictures
There are some tried-and-tested tips and strategies you can use to capture excellent menu pictures.
All you need is a smartphone with good camera quality and smart photography techniques to improve the quality of your food photography. Here’s how:
1. Use the Best Camera Available
You don’t necessarily need a DSLR camera or a professional photographer to capture images for the menu.
However, it’s also important to acknowledge the fact that not every smartphone’s camera quality is good enough for food photography.
Older or budget smartphones often have images that are too grainy or low-resolution, which you should not post on your social media or food delivery apps.
The good thing is that most people have a smartphone nowadays, so even if your phone does not have a good-quality camera, you can consider borrowing a phone with better camera quality from your friend, family, or team member.
Alternatively, if you think that you’ll be taking a lot of pictures over time, you can buy a newer phone with good camera specifications.
If you follow the 7 tips for better food photography, you can significantly improve the quality of your menu pictures, all with just your smartphone.
Pro Tip: Smartphones like iPhone 14 or newer, Google Pixel 8 or newer, and Samsung Galaxy S22 or newer are considered to be some of the best phones for food photography.
2. Use Natural Light Whenever Possible
Food photography does not require an expensive lighting setup just to take a good menu pic.
In fact, artificial lights can often minimize the visual impact of your menu pictures, so it is better to rely on natural light as much as possible.
Natural lighting is ideal for food photography.
More specifically, soft and indirect sunlight near a large window is best suited to photograph your food.
Artificial light can cause harsh shadows and make the menu pic look unappetizing.
Even if you are using an artificial light source, you should avoid:
💡 Overhead fluorescent lighting can make the food look yellow
☀️ Direct sunlight with flashes that can cause harsh shadows
📸 Harsh flashes as they create glare and flatten the dish’s texture
3. Use a Simple Background
Your food item must be the primary focus of your photo and not the clutter on the kitchen counter or some mismatched tableware. You should use neutral or solid colors as your background while capturing menu pictures.
If you are not sure about the background, go with simple white as it works with every dish.
Moreover, you should not leave too much blank space around the dish. You can add relevant cutlery or fresh ingredients to enhance the image, but make sure the primary focus is on the main shot’s subject.
The less clutter that you have around a dish, the more it will stand out in your menu picture.
4. Find the Best Angle for Each Dish
Every dish does not look good from the same angle. You should choose an appropriate angle that will make your food picture shine.
Lighting, both natural and artificial, needs to be sufficient to highlight a dish's best features.
Some of the common angles you can consider are:
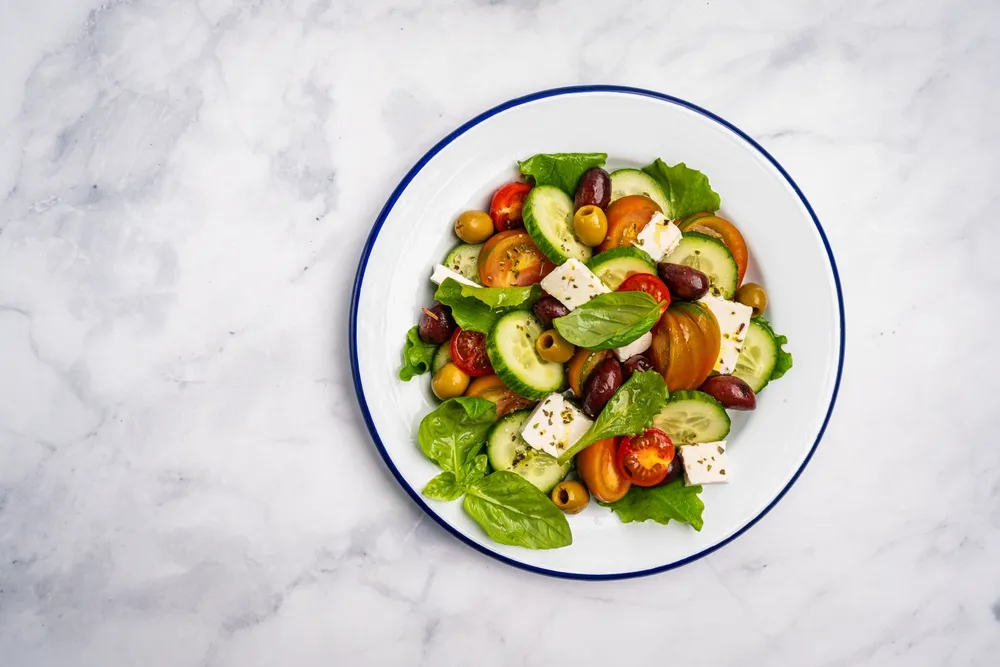
✅ 90° Angle / From Above:
It is best for flat food items like salads, platters, and pizzas. Think of it as taking a photo straight down from over the plate.Lighting, both natural and artificial, needs to be sufficient to highlight a dish's best features.
✅ 45° Angle / Slightly Tilted:
Capturing pictures at a slightly tilted angle works for most everyday food items like sandwiches and pasta. This angle accentuates the plate as well as the food's height, similar to how a customer sees it.Lighting, both natural and artificial, needs to be sufficient to highlight a dish's best features.
✅ 0° Angle / From the side:
Tall or stacked dishes like burgers and cakes should be captured from the side angle. It is useful to show the height and layers clearly.Lighting, both natural and artificial, needs to be sufficient to highlight a dish's best features.
While the above angles are quite easy to understand and remember, if you still have issues in finding the right angle, you should just take multiple shots from different angles and compare them to pick the right menu pic.
5. Edit Photos
When it comes to editing food photos to enhance them, many people mistakenly assume that they have to hire professional editors or use expensive tools like Photoshop.
But the truth is completely opposite.
If you have followed the tips discussed before, you would already have a good-quality menu. It means they will already have high resolution, focused frame, and clean background.
A simple photo editing app, such as built-in mobile gallery editing features in your smartphone, or online tools like Canva or Fotor, would suffice to improve your images for the menu.
You can start by playing around with basic settings like increasing saturation and adjusting brightness to enhance the vibrancy of your menu pictures. Similarly, you can try different preset filters.
On a little more advanced level, you can also adjust the highlights and shadows of images, or adjust specific color settings of a photo.
The good thing is that you can access all of these tools and features for free without making any additional investment.
10 Common Mistakes That Lead to Bad Menu Pictures
Now that you have the complete knowledge of the things you need to consider to take excellent menu pictures, let's discuss some of the most common mistakes people make in this process:
1. Lack of Importance of Good Pictures:
Every other restaurant wants to grab a piece of the massive global food delivery market that is worth $114.5 billion with 1.6 billion users worldwide.
Yet, many ignore the importance of taking good pictures for restaurant menus that can actually turn potential customers into loyal ones.
2. Taking Photos of Takeout Packaging:
When customers are scrolling through your menu pictures on social media or a food delivery app, they want to see what the dish looks like on a plate, not just in a box or container.
3. Unclean Surrounding Area:
Menu pictures of food with unclean surrounding area, having crumbs on the table or sauce stains, can make the entire restaurant look unprofessional.
4. Extra Cutlery:
Keeping extra forks, napkin packets, or any extra cutlery in the picture can make it look cluttered.
5. Digital Zoom:
You should not be capturing menu pictures by zooming in with your phone, as it reduces the quality. It is better to be closer to the dish instead.
6. Taking Screenshots from Videos:
Some restaurants record a video of their different dishes and then take screenshots of each item, which can lead to low-quality images.
7. People in the Background:
Anyone included in your food photograph’s background unintentionally can ruin the focus, so always double-check before finalizing a menu pic. This is why it is important to capture dishes from appropriate angles.
8. Using Flash:
A phone camera’s flash creates extreme reflections, especially on shiny foods. You should avoid using the flash altogether and prefer natural lighting.
9. Over-Cropping:
If you don’t use the right angle and distance to capture a food dish, you can end up over-cropping and removing key visual elements.
10. Overstyling:
Striking a balance between realistic and appealing presentation is important. You should not use too many props, excessive garnishes, or too many filters during the editing stage.
All of these small mistakes can add up to make even the best of dishes look quite unappetizing. But the good part is you can easily fix them by implementing the provided tips and tricks.
Conclusion
The bottom line is that good menu pictures are good for your business.
In this age of social media and food delivery apps, a dish is likely to be judged way before it is actually tasted.
It is more important than ever that every restaurant pay attention to food photography and capturing amazing menu pictures.
By avoiding the common mistakes and understanding what makes a menu pic truly appetizing, you can easily level up your restaurant’s visual appeal and build a large base.
The key things to remember in this process are that you don’t need a fancy camera to make an impact.
You can use a smartphone with a good-quality camera and techniques like better natural lighting, the right angle, and better attention to detail to turn average shots into scroll-stopping menu pictures.
An increase in online orders begins with better pictures for restaurant menu items. As always, nothing that you can't achieve with the right tools and techniques.
©2025 Cocina Digital Hospitality Group, Inc. All rights reserved.
No part of this publication may be reproduced, stored in a retrieval system, or transmitted in any form or by any means, electronic, mechanical, photocopying, recording, or otherwise, without the prior written permission of the publisher.